
How to Use Teachable Step by Step (Beginner Guide)

Want to sell your knowledge online? This step-by-step beginner guide walks you through how to use Teachable — from account setup to publishing and selling your first course.
Table of Contents
- What Teachable Is (and Who It’s Built For)
- Steps to Use Teachable Step by Step
- How to Drive Your First Enrollments
- Teachable Plan Breakdown: Which One Do You Need?
- Common Mistakes Beginners Make on Teachable
- Frequently Asked Questions
- Summary
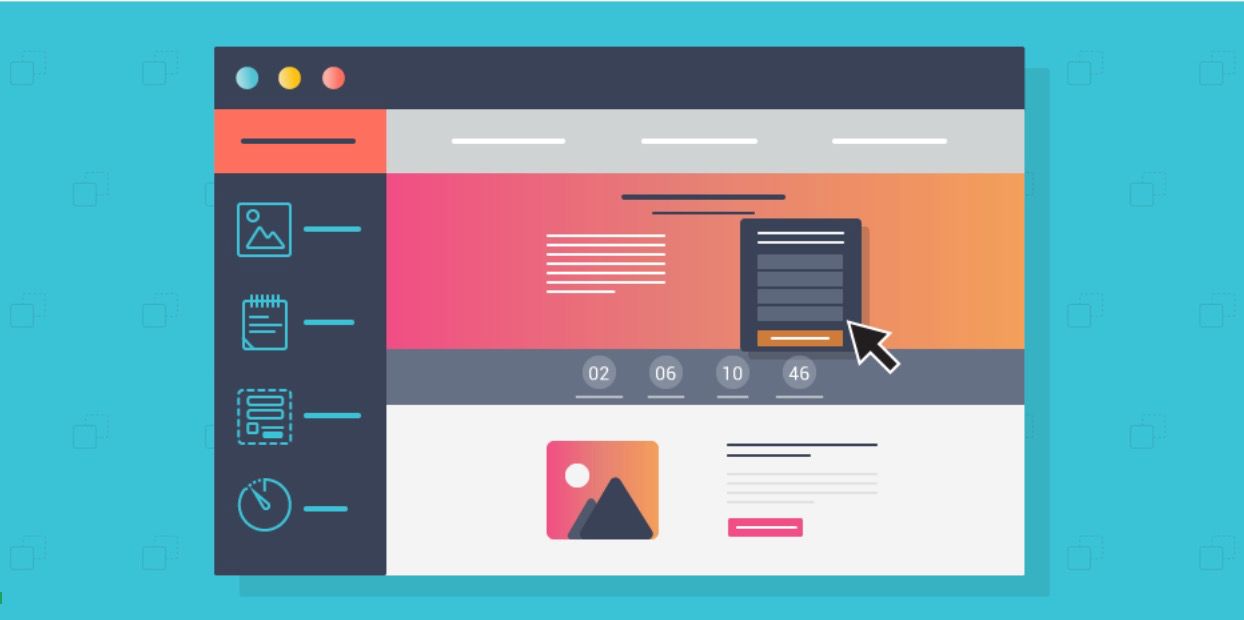
Learning how to use Teachable step by step (beginner guide) is the fastest path to selling an online course without hiring a developer. Create a free Teachable account, build your school, upload your course content, set a price, and publish — the whole setup takes a few hours, and Teachable handles hosting, payments, and student enrollment for you.
Photo: www.kaboompics.com (Pexels)
What Teachable Is (and Who It’s Built For)
Teachable is a hosted course platform that lets creators sell video courses, coaching programs, and digital downloads. You get a course builder, a checkout page, and a student dashboard — all under one roof.
It suits:
- Knowledge-based creators — coaches, consultants, educators, and niche experts
- Bloggers looking to add a course as a revenue stream
- Side-hustlers who want to launch fast without coding
Teachable is not ideal for complex membership communities or highly customized learning paths. For those use cases, platforms like Kajabi or Thinkific may be a better fit.
How Teachable Compares to the Alternatives
| Platform | Starting Price | Transaction Fee (free plan) | Best For | Free Trial |
|---|---|---|---|---|
| Teachable | Free (limited) / $39/mo (Basic) | $1 + 10% on free plan | Beginners, solo creators | Free plan available |
| Thinkific | Free / $36/mo (Basic) | 0% on all plans | Creators who want no fees | Free plan available |
| Podia | $33/mo (Mover) | 0% on paid plans | Courses + digital downloads together | 14-day free trial |
| Kajabi | $69/mo (Basic) | 0% | All-in-one business (email + funnels + courses) | 14-day free trial |
Our take: Teachable’s free plan is the lowest barrier to entry for a first course. If transaction fees bother you and your budget is similar, Thinkific is worth comparing. But for sheer simplicity and brand recognition, Teachable remains the standard beginner recommendation.
Steps to Use Teachable Step by Step
Step 1: Create Your Teachable Account
Go to teachable.com and sign up with your email address. The free plan is real — you can publish one course and keep it live indefinitely. No credit card is required to start.
After signing in, Teachable prompts you to name your school. Choose something close to your brand name, because this becomes part of your school’s subdomain (e.g., yourschool.teachable.com). You can connect a custom domain later on a paid plan.
Step 2: Set Up Your School’s Basic Settings
Before building your course, spend five minutes in Settings → General:
- Upload a school logo (PNG, minimum 200×200px recommended)
- Set your primary brand color — this applies to buttons and accents across your school
- Add a school description and contact email
- In Settings → Payments, connect Stripe or PayPal to receive payouts
Connecting Stripe directly is the cleanest option. Teachable processes payments through its own gateway on the free plan, which adds transaction fees. On the Basic plan ($39/mo), you connect Stripe and pay 5% transaction fees instead of 10%.
Step 3: Create a New Course
From your admin dashboard, click Courses → New Course. Fill in:
- Course title — be specific (“YouTube SEO for Beginners,” not “Video Course 1”)
- Subtitle — one sentence describing the outcome
- Author — your name or pen name
Teachable saves a draft automatically. Now you’re inside the course builder.
Step 4: Build Your Course Curriculum
The curriculum editor is the core of Teachable. You organize content into Sections (chapters) and Lectures (individual lessons).
To add a section:
1. Click + Add Section
2. Name it (e.g., “Module 1: Getting Started”)
To add a lecture inside a section:
1. Click + New Lecture
2. Name the lecture (e.g., “Lesson 1: Tools You’ll Need”)
3. Click into the lecture to add content
Each lecture supports:
- Video — upload MP4 files directly or embed from a Wistia/Vimeo link
- Text — a rich-text editor for written lessons, transcripts, or worksheets
- PDF/file attachments — workbooks, templates, resource guides
- Quizzes — multiple-choice questions on paid plans
- Code embeds — for forms, interactive tools, or third-party widgets
A workable structure for a beginner course: 3–5 sections, 4–8 lectures each, with at least one video and one text lesson per section.
Step 5: Record and Upload Your Videos
Teachable doesn’t have a built-in screen recorder. Most creators use one of these setups:
- Loom (free tier available) for quick screen recordings
- OBS Studio (free, open-source) for full webcam + screen
- Screenflow (Mac, $149 one-time) for polished edits
Upload videos in MP4 format. Teachable recommends H.264 encoding at 1080p for the best playback quality. Files up to 2GB upload without issue; larger files may need cloud delivery via an external host.
Once uploaded, videos transcode automatically. This takes a few minutes. Do not publish lectures until the progress bar reaches 100%.
Step 6: Configure Your Pricing
Click Pricing in the left sidebar of your course. Teachable supports four pricing structures:
- Free — no payment, anyone can enroll
- One-time payment — a single price (e.g., $197)
- Subscription — monthly or annual recurring (e.g., $29/month)
- Payment plan — split into installments (e.g., 3 × $79)
You can create multiple pricing tiers for the same course. A common pattern: a $97 “core” tier and a $197 “VIP” tier with a bonus coaching call.
Coupons are available on all plans. Create a launch discount code under Coupons → New Coupon — set a percentage off and an expiration date.
Step 7: Design Your Sales Page
Teachable includes a drag-and-drop sales page builder. Access it via Sales Page inside your course.
Key sections to complete:
- Hero section — course title, subtitle, and a compelling header image or video
- What you’ll learn — bullet-point outcomes (Teachable has a pre-built block for this)
- Curriculum overview — auto-populates from your section titles; choose which to show or hide
- Instructor bio — one short paragraph and a headshot
- Testimonials — add social proof once you have beta students (even 2–3 strong testimonials lift conversions)
- Pricing block — pulls from your pricing settings automatically
Avoid cluttering the page with too much text. Scannable sections with clear headings perform better than walls of copy.
Step 8: Configure Enrollment and Access Settings
Under Course Settings → Enrollment, set:
- Course availability — all at once (“drip off”) or dripped by schedule
- Course expiry — unlimited access vs. a set number of days (useful for cohort-style courses)
- Completion certificate — Teachable can auto-generate certificates when students finish; this is a meaningful value-add for professional development courses
Drip scheduling is available on the Pro plan ($119/mo). On Basic, all content unlocks immediately after enrollment.
Step 9: Preview and Publish Your Course
Click Preview as Student before publishing. Walk through every lecture, check video playback, test any quiz, and submit the checkout as a $0 test purchase.
Common things to catch at this stage:
- A lecture left in draft mode (students can’t see it)
- A video still transcoding
- A broken PDF link
- Checkout not connected to Stripe
When everything looks correct, return to Course Details and toggle the course from Draft to Published.
How to Drive Your First Enrollments
Publishing a course does not automatically bring students. Here are the three most practical starting points for beginners:
1. Email your existing list. If you have even 50–100 subscribers through a tool like Kit (formerly ConvertKit) or GetResponse, a launch email sequence outperforms social media posts for early sales.
2. Run a beta launch. Offer 10–20 beta spots at 50–70% off in exchange for honest testimonials. Beta students give you feedback to improve the course and social proof to market the full launch.
3. Link from existing content. If you have a blog, add a course call-to-action in your highest-traffic posts. A single well-placed link inside an article that already ranks can send consistent traffic.
Paid advertising (Facebook, Google) works but is rarely the right move before you have testimonials and a validated offer.
Teachable Plan Breakdown: Which One Do You Need?
Most beginners start on the free plan to validate their idea, then upgrade when they’re ready to reduce transaction fees or unlock features like quizzes and drip content.
| Plan | Price (billed monthly) | Transaction Fee | Key Feature Unlocked |
|---|---|---|---|
| Free | $0 | $1 + 10% | 1 published course, basic quizzes |
| Basic | $39/mo | 5% | Unlimited courses, coupon codes, custom domain |
| Pro | $119/mo | 0% | Drip content, advanced reports, graded quizzes, live group coaching |
| Pro+ | $199/mo | 0% | Priority support, custom user roles, bulk student enrollment |
Rule of thumb: If your course sells for $97 and you make 20 sales/month ($1,940 revenue), the free plan costs you roughly $194 in transaction fees. Upgrading to Basic at $39/mo saves about $97/month net. Run the math with your own numbers before upgrading.
Common Mistakes Beginners Make on Teachable
Skipping the preview step. Unpublished lectures and untested checkout flows are the most frequent causes of a frustrated first student. Always do a full test run.
Perfecting the course before selling. A common mistake is spending three months building before validating demand. A better sequence: outline → beta launch at reduced price → collect feedback → finish recording.
Ignoring the email integration. Teachable’s built-in email is minimal. Connect it to Kit or ActiveCampaign via Zapier or native integration so you can segment students, send follow-up sequences, and market future courses.
Choosing a vague title. “Photography Course” will not rank or sell. “DSLR Photography for Absolute Beginners: Master Manual Mode in 7 Days” tells students exactly what they get.
Frequently Asked Questions
Do you need technical skills to use Teachable?
No. Teachable is designed for non-technical users. If you can upload a file and fill out a web form, you have the skills needed to build and publish a course. The steepest learning curve is recording and editing video — the platform itself is straightforward.
How much does it cost to start selling on Teachable?
You can start for free. The free plan allows one published course with a $1 + 10% transaction fee per sale. A paid Basic plan starts at $39/month and reduces fees to 5%. There are no setup fees or storage limits on any plan.
Can Teachable replace a website?
Partially. Teachable provides a hosted school page and individual sales pages for each course, but it is not a full blog or marketing website. Most creators keep a WordPress or Squarespace site for content marketing and use Teachable for course delivery and checkout.
What’s the difference between Teachable and Kajabi?
Teachable focuses on course delivery with a simple setup. Kajabi includes email marketing, sales funnels, a blog, and a community feature — essentially an all-in-one platform. Kajabi starts at $69/month (vs. Teachable’s free tier) and suits creators who want to manage everything in one place without third-party integrations.
How long does it take to publish a course on Teachable?
A basic course with pre-recorded video can be live within a day. A polished course with multiple modules, a complete sales page, and connected payment processing realistically takes 5–10 hours of setup work spread over a few days.
Summary
Learning how to use Teachable step by step (beginner guide) comes down to a clear sequence: create an account, configure your school, build your curriculum, set pricing, design your sales page, and publish. The platform handles the technical side — hosting, payments, and student management — so you focus on content and marketing.
For a first course, start on the free plan, validate demand with a beta group, and upgrade once your monthly revenue makes the math work. Pair Teachable with an email marketing tool like Kit or ActiveCampaign to keep students engaged and convert them into repeat buyers.
This guide covers how to use Teachable step by step (beginner guide) from zero to published. The rest is consistent content and a willingness to launch before everything feels perfect.
Want more guides on course platforms, sales funnels, and online business tools? Bookmark twofunnelsaway.com for new articles every week.
0 Comments on "How to Use Teachable Step by Step (Beginner Guide)"
Related posts


Leave a Comment
You must be logged in to post a comment.